

In the fast-paced world of today, having a professional headshot is no longer a luxury but a necessity. Whether you're a job seeker, an entrepreneur, or a professional looking to enhance your online presence, a well-crafted headshot can make a lasting impression and set you apart from the competition.
However, the process of hiring a professional photographer can be both costly and time-consuming, often leaving many individuals with subpar or outdated headshots. Fortunately, the advent of artificial intelligence (AI) technology has revolutionized the way we approach various tasks, including image generation.
With the power of AI, you can now create professional-quality headshots from the comfort of your own home, without the need for expensive equipment or a dedicated photography studio. This game-changing technology not only saves you time and money but also empowers you to take control of your personal branding and present yourself in the best possible light.
In this comprehensive guide, we'll explore the world of AI-generated headshots, diving deep into the setup and configuration of powerful tools like ComfyUI, IPAdapter, and LoRA models. By following these step-by-step instructions, you'll unlock the ability to generate stunning, high-quality headshots tailored to your specific needs and preferences.

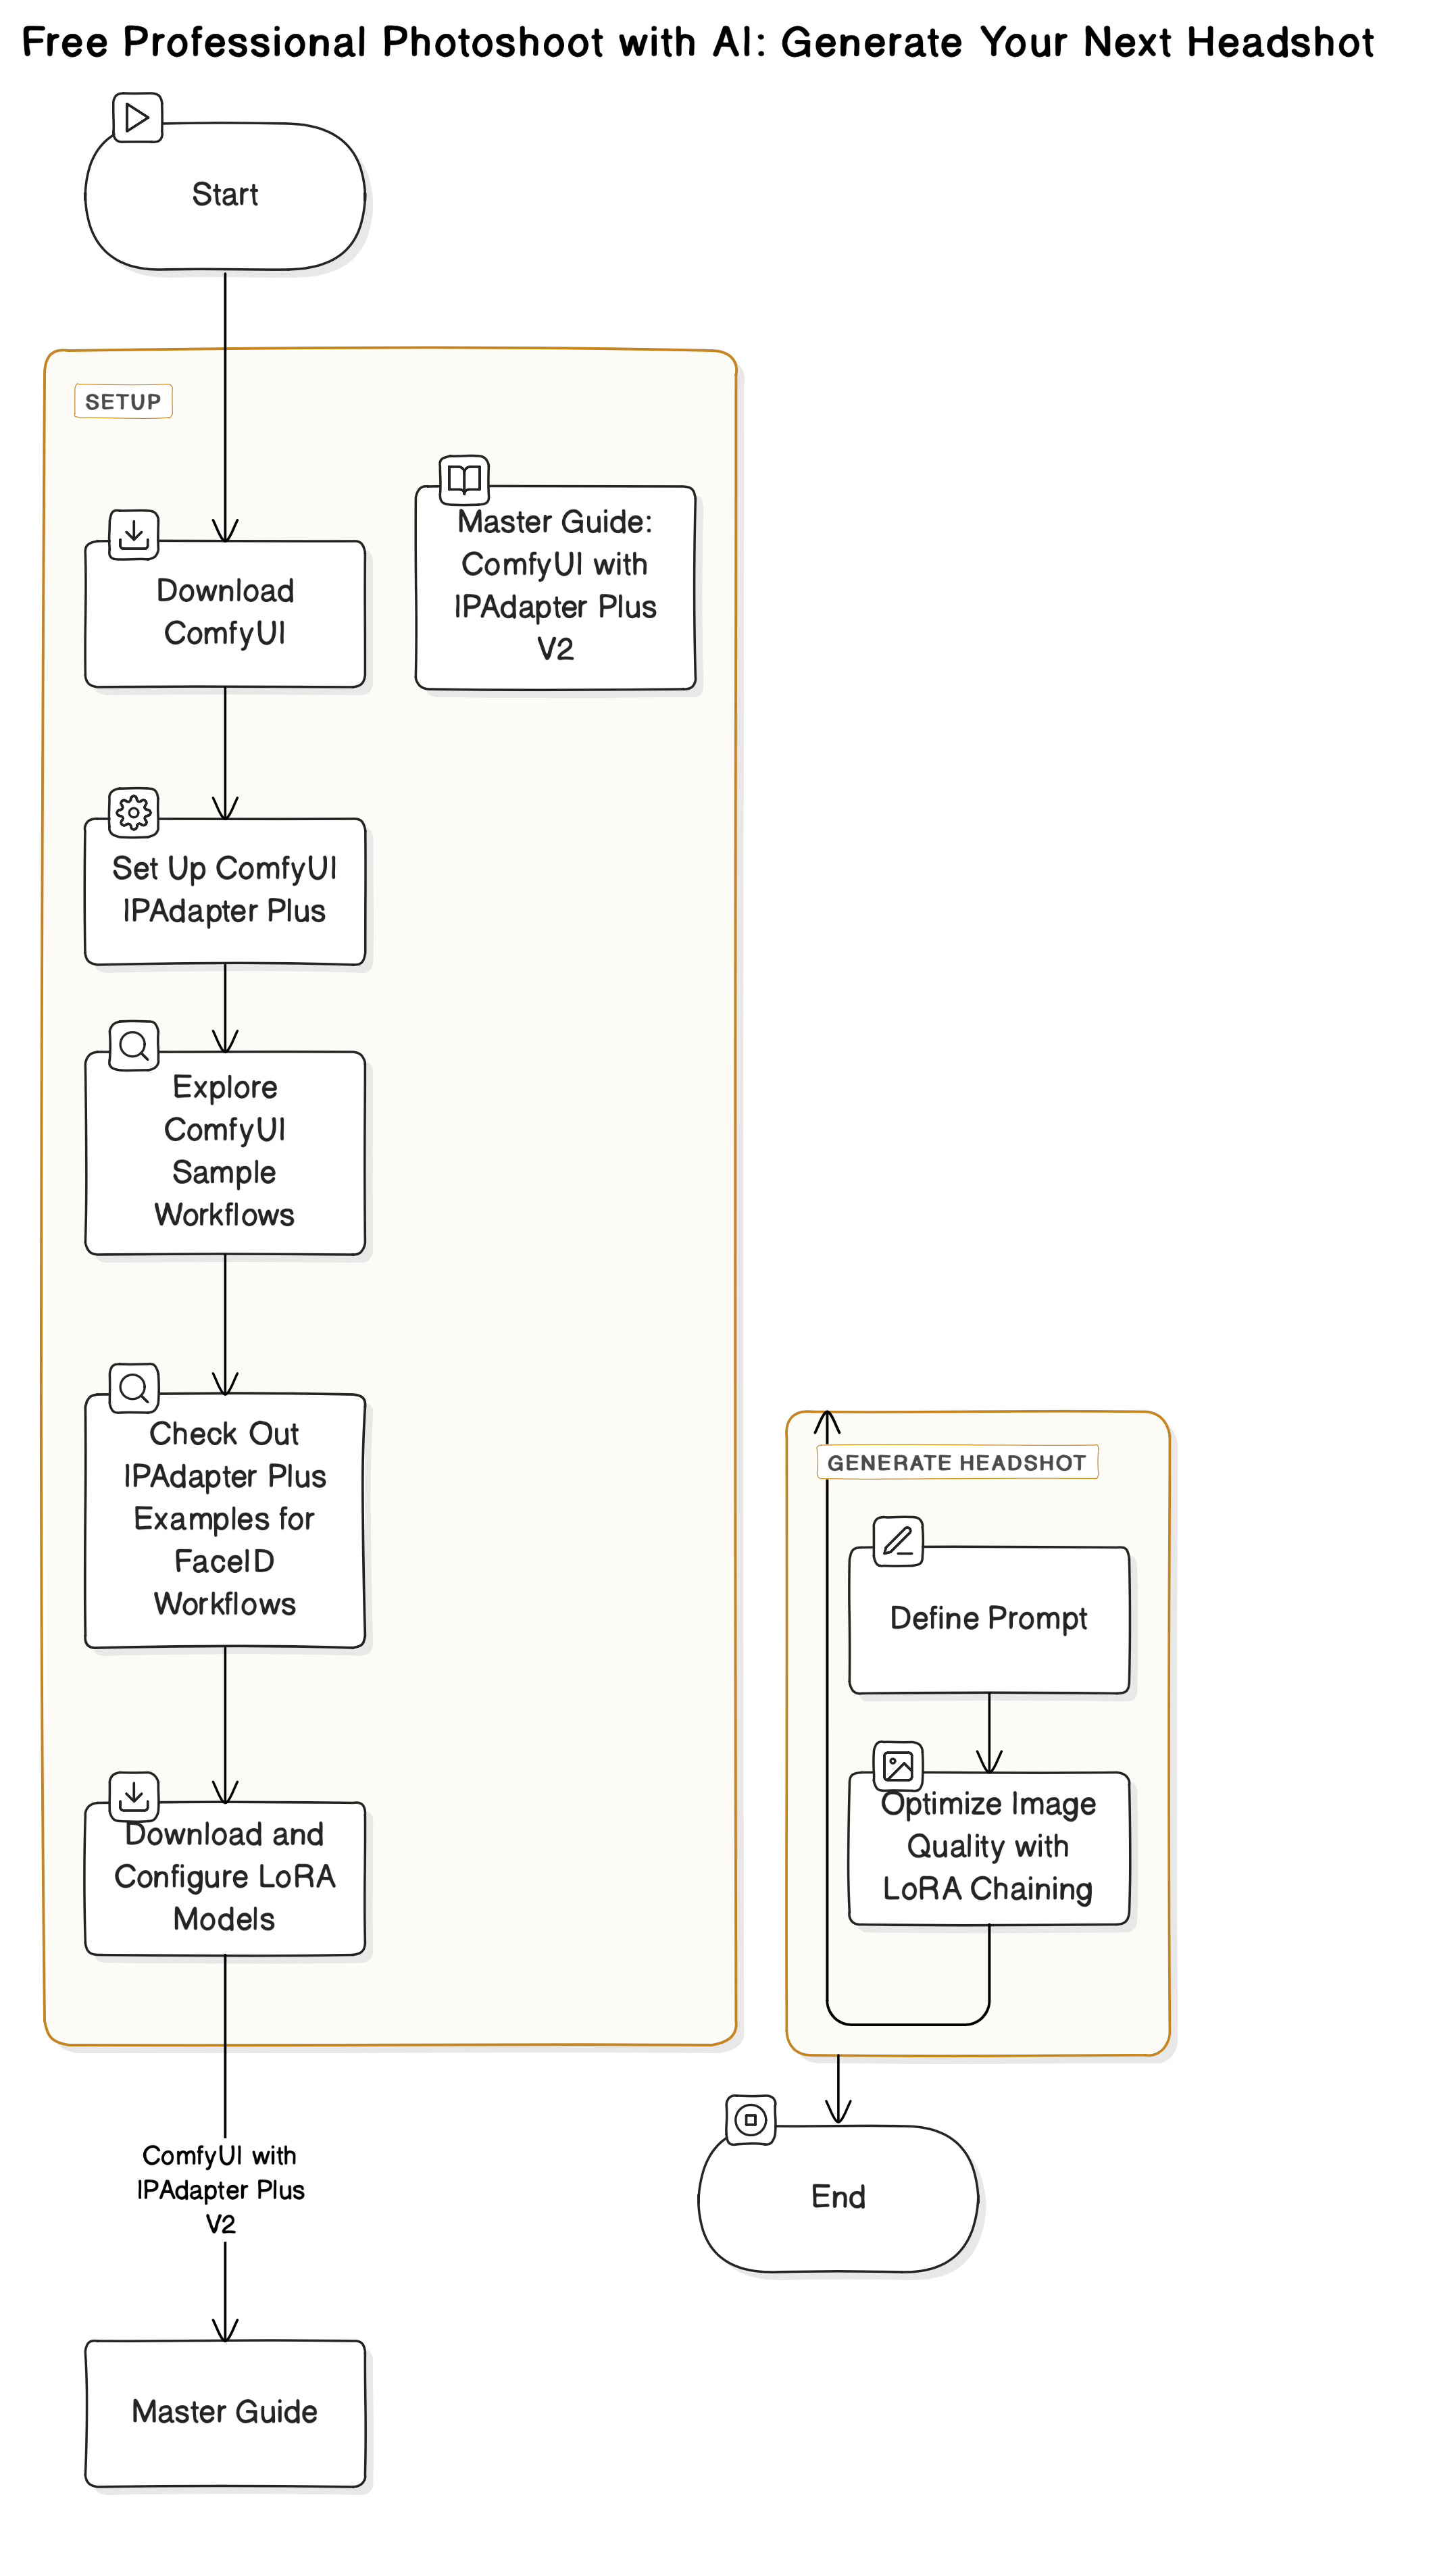
Download ComfyUI
ComfyUI is a powerful and modular stable diffusion GUI, API, and backend with a graph/nodes interface. It's the backbone of our AI-generated headshot setup. You can download it from the official GitHub repository: https://github.com/comfyanonymous/ComfyUI
Set Up ComfyUI IPAdapter Plus
To use IPAdapter (Image Prompt) with ComfyUI, you need to set up ComfyUI IPAdapter Plus. This process is straightforward: simply clone or download the repository to ComfyUI's custom_nodes folder: https://github.com/cubiq/ComfyUI_IPAdapter_plus
Explore ComfyUI Sample Workflows
ComfyUI provides sample workflows in JSON and YAML files, which you can find in the examples folder. These files will help you understand the structure and configuration of the workflows.
Check Out IPAdapter Plus Examples for FaceID Workflows
The examples folder in the ComfyUI IPAdapter Plus repository is an excellent starting point for FaceID workflows, which are essential for generating professional headshots: https://github.com/cubiq/ComfyUI_IPAdapter_plus/tree/main/examples
Download and Configure LoRA Models
Follow the instructions in the README file to download the appropriate SDXL or SD 1.5 stable diffusion LoRA model. For professional headshots, choose a FaceID-specific model. Additionally, ensure that the IPAdapter you're using is also FaceID-specific.
Master Guide: ComfyUI with IPAdapter Plus V2
For a comprehensive guide on using ComfyUI with IPAdapter Plus V2, refer to the detailed tutorial on RunComfy: https://www.runcomfy.com/tutorials/comfyui-ipadapter-plus-deep-dive-tutorial
In the Clip Text Encoder (prompt), use a prompt like this, replacing the placeholders with your own information:
Headshot of <AGE> year old <GENDER> with <HAIR_COLOR> in a <LOCATION>.
You can also add background coloring information to the prompt.
Optimizing Image Quality with LoRA Chaining
One of the best features of this setup is that you don't need a GPU or CUDA; a CPU will suffice. Additionally, you can chain multiple LoRAs to enhance the quality of the generated images. One popular LoRA for corporate headshots and portraits is the "Bootlicker - Corporate Photos and Portraits" model available on Civitai: https://civitai.com/models/108794/bootlicker-corporate-photos-and-portraits
Conclusion
By following these steps, you can generate professional-quality headshots using AI technology, without the need for expensive photography equipment or hiring a professional photographer. Embrace the power of AI and elevate your personal branding game!